A practical digital desk setup combines an external monitor, a USB‑C hub or docking station, and safe charging so your laptop/tablet/phone connects with one cable and stays powered. Choose hardware based on your device's USB‑C capabilities (video + power delivery), your OS limits, and your daily workflow, then validate display, charging, and peripherals before relying on it.
Essential configuration snapshot
- Start from your device's USB‑C capabilities: not every USB‑C port supports video output, and not every hub can pass enough power.
- For จอเสริมสำหรับโน้ตบุ๊ก, prioritize panel type and scaling comfort first, then refresh rate and extras.
- Pick a hub based on the ports you truly need (USB‑A, HDMI/DP, Ethernet, SD) plus stable power delivery; treat "ฮับ USB-C แนะนำ" lists as a starting point, not a guarantee.
- Use a charging layout that avoids heat and cable strain; แท่นชาร์จไร้สาย is convenience, not a replacement for high-power laptop charging.
- If you want "one cable for everything," plan for a Docking station USB-C and verify OS display limits before buying.
- For อุปกรณ์เสริม MacBook, check whether your model supports multiple external displays natively and whether the dock uses native video or special drivers.
Choosing the right external monitor for productivity and color accuracy
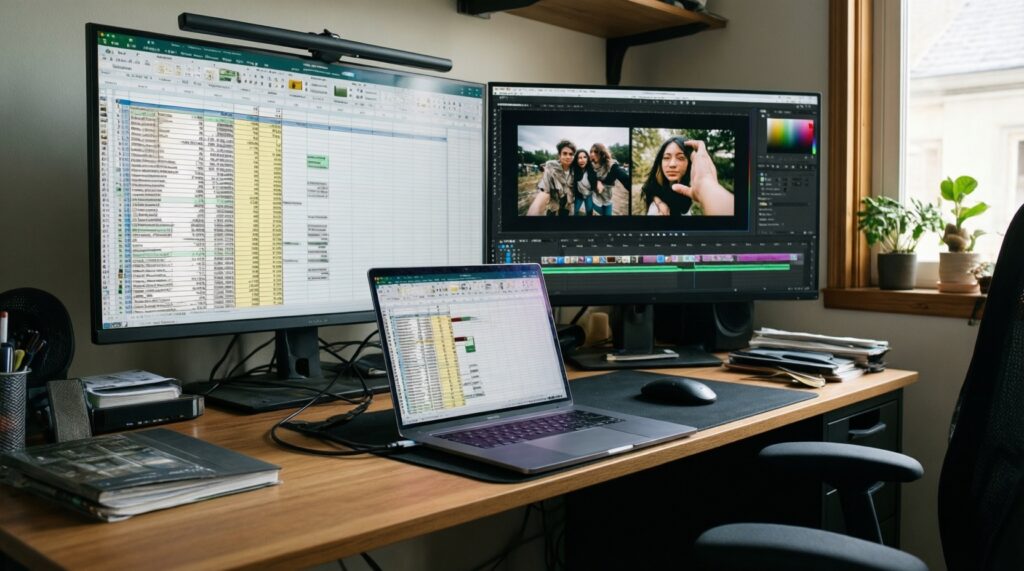
An external monitor helps if you multitask, do documents/spreadsheets, edit photos/video, or want better ergonomics than a laptop screen. Skip or delay the purchase if you mainly work mobile, your desk is shallow, or your device can't output stable external video without adapters you don't want to manage.
What to prioritize
- Clarity and scaling comfort: choose a resolution/size pair that stays readable at your typical viewing distance.
- Panel and finish: IPS-type panels are typically easier for consistent color; matte reduces reflections in bright rooms.
- Inputs and single-cable workflow: USB‑C with video + power delivery reduces clutter; otherwise HDMI/DisplayPort plus a separate charger is fine.
Recommendation example: a 27-inch 4K IPS monitor with USB‑C video and power delivery, plus a USB hub built in. OS caveat: iPadOS may mirror instead of extending on some models; macOS scaling choices can affect sharpness; Windows usually offers the broadest scaling and multi-monitor control.
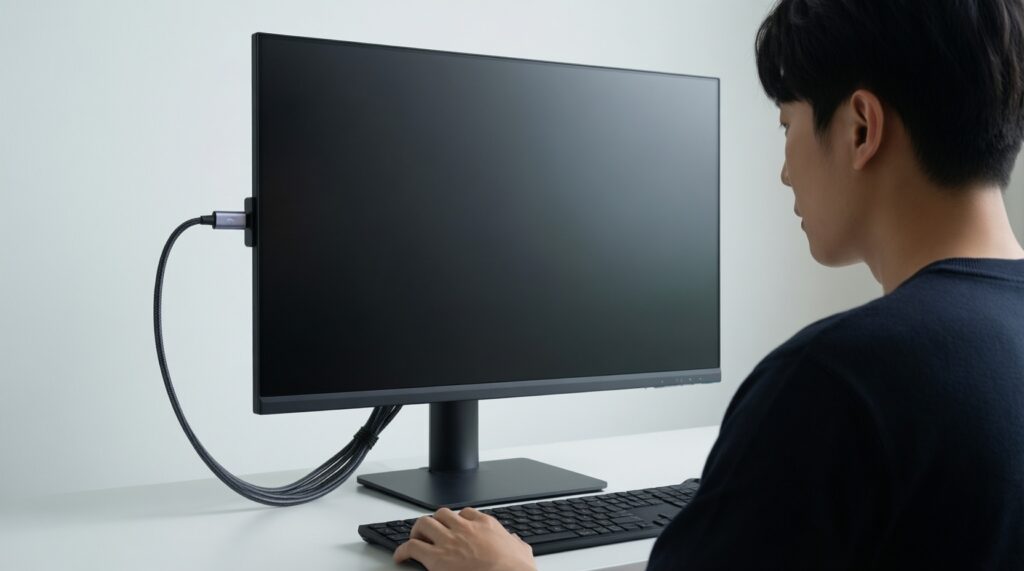
- Confirm your device can output video over USB‑C (Alt Mode/Thunderbolt/USB4) before buying a USB‑C-only monitor.
- Choose a monitor stand/arm option that lets the top of the screen sit near eye level.
- Plan the cable path (left/right) based on your laptop port location to avoid crossing your keyboard area.
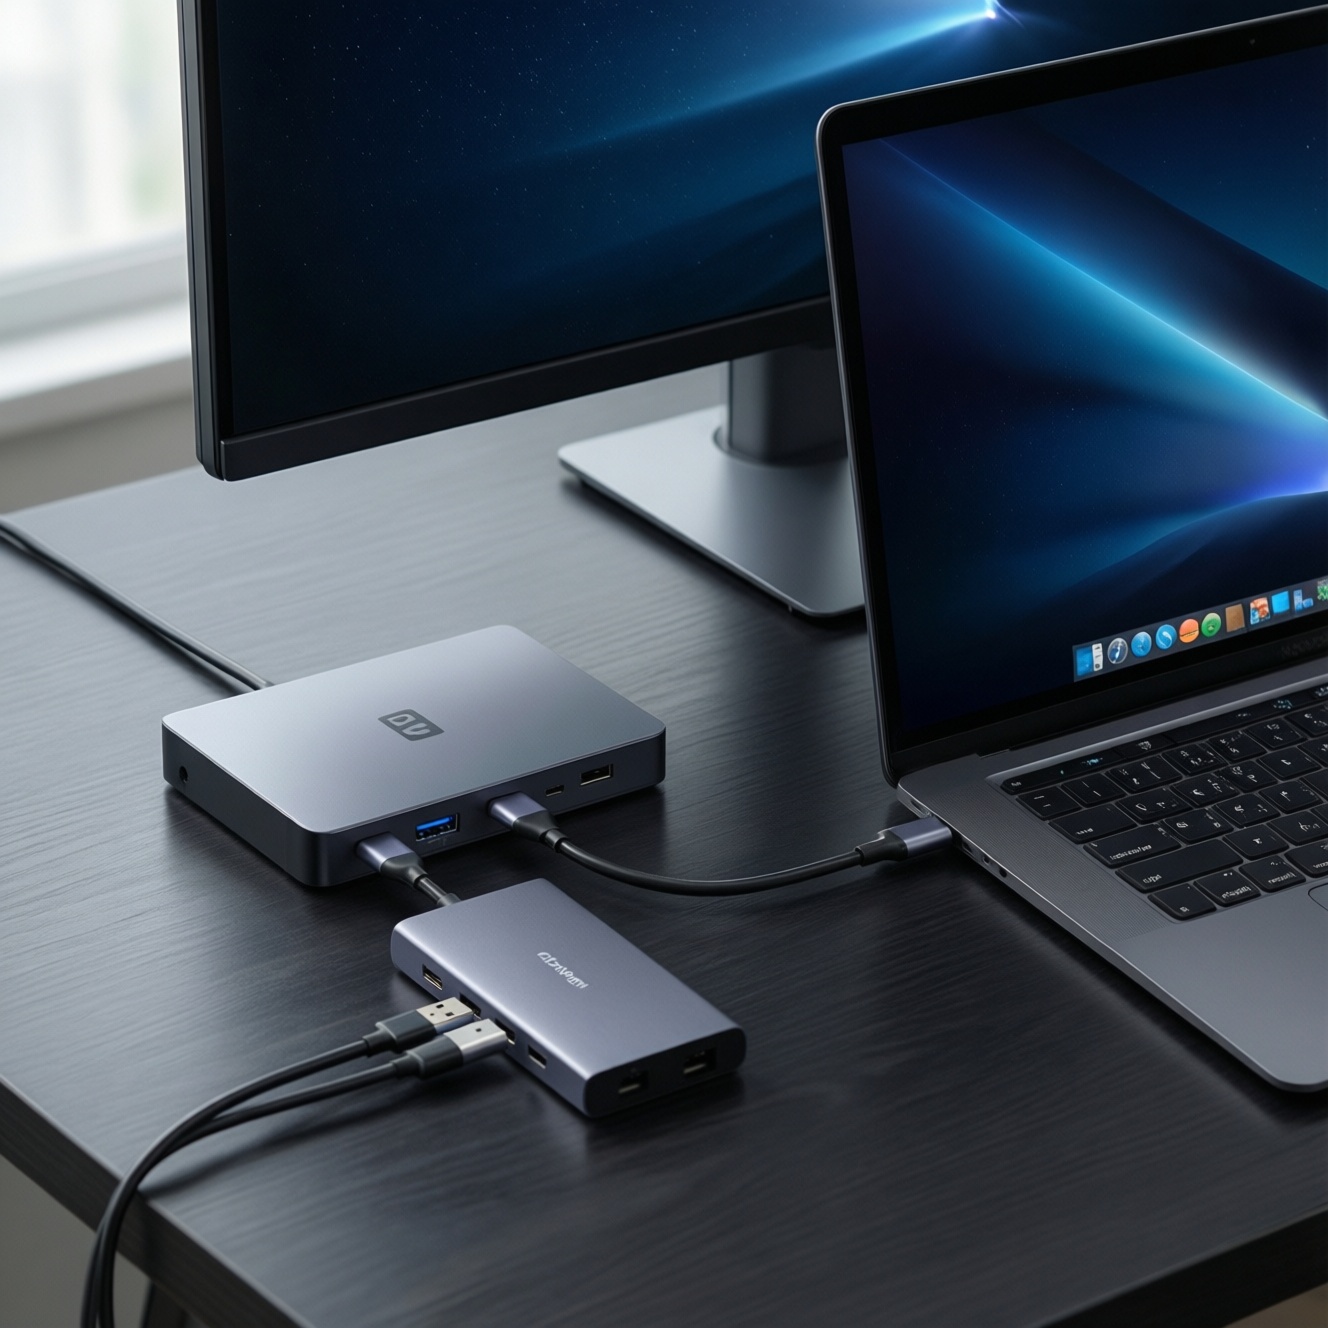
Selecting a USB‑C hub: ports, power delivery and data rates
You'll need (1) a clear list of peripherals, (2) your device's USB‑C spec (USB 3.x vs USB4/Thunderbolt), and (3) a charger that can cover your laptop's peak load. Decide whether you want a compact travel hub or a desk-first dock.
Requirements checklist (what to prepare)
- Peripherals inventory: monitor inputs, Ethernet need, USB‑A devices, SD/microSD, audio, webcam.
- Power plan: your laptop's recommended charger wattage and whether you need pass-through charging.
- Display plan: number of external displays you want now vs later.
Prep checklist table: ports, wattage expectations, and adapters by OS
| Platform | Ports to prioritize on the hub/dock | Power delivery target (practical) | Common adapter/cable types you may need | Compatibility gotchas to check before purchase |
|---|---|---|---|---|
| macOS (MacBook) | USB‑C (upstream), HDMI/DP, USB‑A, optional Ethernet, SD | Match or exceed your MacBook charger rating | USB‑C to HDMI/DP; USB‑C to USB‑A for legacy devices | Multi-display behavior depends on Mac model; avoid "mystery" docks that require non-native display drivers unless you accept that tradeoff. |
| Windows (laptop/desktop) | USB‑C (upstream), HDMI/DP, USB‑A, Ethernet, audio as needed | Match your laptop's charger rating; consider headroom if you power many USB devices | USB‑C to DP for best compatibility; HDMI where required | USB‑C port may be data-only on some laptops; confirm video output support in specs. |
| iPadOS (iPad with USB‑C) | USB‑C, HDMI/USB‑C video, USB‑A (for storage/keyboard), optional Ethernet | Often fine with moderate PD; higher PD helps stability under load | USB‑C to HDMI; USB‑C hub with PD pass-through | External display features vary by iPad model and iPadOS version; some apps don't fully support extended display. |
| Android (USB‑C phones/tablets) | USB‑C, HDMI/DP if your device supports desktop mode, USB‑A | PD helpful; some devices prefer their own fast-charge profiles | USB‑C to HDMI; hub with PD pass-through | Not all Android devices support video out; verify "desktop mode"/DisplayPort Alt Mode support first. |
Recommendation example: a powered USB‑C hub with HDMI/DisplayPort, Ethernet, multiple USB‑A ports, SD reader, and PD pass-through. OS caveat: for macOS, confirm whether your dock supports dual displays natively on your specific model; for iPadOS/Android, confirm the device supports video output at all.
- Buy the hub for the ports you will use weekly, not "just in case" ports that compromise stability.
- Prefer DisplayPort over HDMI when both are available for simpler multi-monitor troubleshooting.
- If you need true single-cable desk mode, favor a dock with external power over a tiny bus-powered dongle.
Wireless and wired charging stations: standards, placement and safety
Charging is a desk reliability problem: heat, cable strain, and unstable power cause the most "random" disconnects. Use wired USB‑C PD for laptops and reserve แท่นชาร์จไร้สาย for phones/earbuds where convenience matters more than maximum speed.
Prep checklist before you start
- Identify each device's charging method: USB‑C PD (laptop/tablet), proprietary fast charge (some phones), or wireless (Qi/Qi2 where supported).
- Confirm your power strip has enough spacing and surge protection for bulky adapters.
- Pick a ventilated spot for chargers (not under papers, not pressed against fabric, not inside closed cable boxes).
- Label cables by device end (small tag or heat-shrink) before routing anything.
-
Assign "primary power" vs "convenience power"
Use one reliable wired USB‑C PD path for your main computer, and treat wireless pads as optional. This prevents a phone-style charger from silently underpowering a laptop dock.
- Laptop/tablet: wired PD via dock/hub or direct charger.
- Phone/earbuds: wireless pad or secondary USB‑C cable.
-
Place chargers to minimize heat and drops
Keep charging pads and adapters on a hard, open surface with airflow. Avoid stacking power bricks and avoid direct sunlight.
- Put the wireless pad where you can place the phone without looking.
- Keep batteries away from the monitor's warm exhaust zone.
-
Route cables with strain relief first
Before you tie anything down, ensure every cable has a gentle loop near the device and near the dock so a small tug doesn't stress the connector.
- Use a longer cable rather than stretching a short one.
- Avoid tight bends near USB‑C plugs.
-
Verify charging stability under real load
Connect the monitor, peripherals, and network, then check whether the laptop stays charging while doing typical work. If charge level drops during use, your power path is insufficient.
-
Lock in a daily docking routine
Decide which cable is your single "connect/disconnect" cable and keep it accessible. Everything else should stay parked to reduce wear.
Recommendation example: a 3-in-1 wireless charging stand (phone + earbuds + watch) paired with a separate USB‑C PD laptop charger or powered dock. OS caveat: none for wireless itself, but macOS/Windows laptops should not rely on low-power multi-device USB chargers for primary power.
- Use wired USB‑C PD for laptops; use wireless mainly for phones/earbuds.
- Keep chargers ventilated and cables strain-relieved.
- Test stability with your normal workload before you tidy cables permanently.
Cross‑platform compatibility: macOS, Windows, iPadOS and Android specifics
- Confirm your USB‑C port supports video output (Alt Mode/Thunderbolt/USB4), not just charging and data.
- Check the monitor is running at the intended resolution and refresh rate in OS display settings.
- Verify audio routing (monitor speakers/headphones) if your display carries audio over HDMI/DP.
- Plug in Ethernet (if used) and confirm stable link plus correct DNS/VPN behavior.
- Test all USB‑A accessories through the hub: keyboard, mouse, webcam, storage, dongles.
- For iPadOS, confirm whether you get true extended display in your key apps (not just mirroring).
- For Android, confirm the device supports video out/desktop mode before expecting monitor + keyboard workflows.
- If using a Docking station USB-C, confirm sleep/wake behavior: wake the laptop, ensure monitor and USB devices reconnect without replugging.
Recommendation example: a "native video" USB‑C dock (no special display drivers) if you switch between macOS and Windows often. OS caveat: macOS and iPadOS can be stricter about certain USB peripherals; test your exact webcam/audio interface early.
- Validate video + USB + power simultaneously (not each part in isolation).
- Test sleep/wake and hot-plug reconnect behavior.
- Confirm your most critical app supports the external display mode you expect.
Cable management, ergonomics and desk layout for a distraction‑free setup
- Buying cables first, then discovering your laptop's USB‑C port is data-only (no video), forcing last-minute adapters.
- Routing the main dock cable across the desk edge where it gets snagged daily.
- Over-tight cable ties causing intermittent display dropouts or charging instability.
- Hiding power bricks in closed boxes without ventilation, increasing heat and reducing reliability.
- Placing the monitor too high or too far, leading to neck strain and constant scaling tweaks.
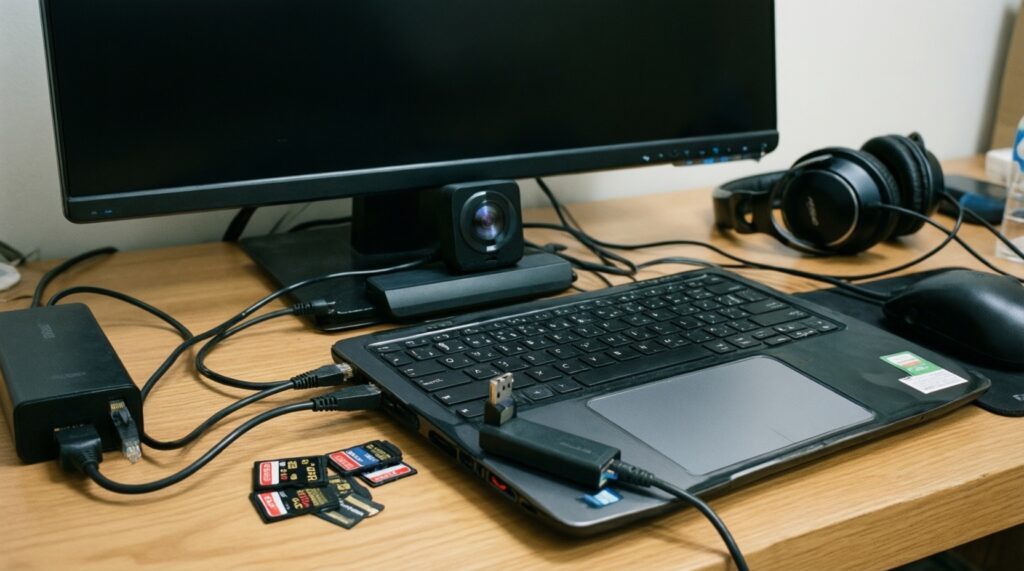
- Using a tiny bus-powered dongle for a full desktop load (monitor + Ethernet + multiple USB devices), causing random disconnects.
- Mixing "charge-only" USB‑C cables into a video path; the monitor won't work and troubleshooting wastes time.
- Running wireless charging next to messy metal objects/cables, making placement fiddly and heating more likely.
- Assuming one universal setup works across devices; macOS/iPadOS/Android often have different external display expectations.
Recommendation example: an under-desk cable tray plus a monitor arm, with one accessible "daily cable" for docking. OS caveat: none, but if you hot-dock frequently, prioritize a durable USB‑C cable rated for video to reduce wear-related issues.
- Keep one primary "dock cable" reachable and strain-relieved.
- Separate power routing from data/video routing where possible.
- Set monitor height and distance first, then finalize cable lengths.
Testing, troubleshooting and performance checks before daily use
If your ideal setup isn't stable or compatible, these alternatives are often more reliable:
- Direct-to-monitor + separate charging: connect the monitor via HDMI/DP/USB‑C directly and charge the laptop with its own adapter; use a small hub only for USB peripherals.
- Two-cable desk mode: one cable for power, one cable for video/peripherals; reduces dock complexity and helps isolate failures fast.
- Powered desktop dock instead of a travel dongle: if you frequently use Ethernet, multiple USB devices, and external display(s), a powered dock is typically steadier than a pocket hub.
- Single-device focus: if you constantly switch between MacBook/iPad/Android, keep a dedicated cable set for each to avoid adapter churn and mis-cabling.
Recommendation example: for a MacBook-centric desk, use a powered dock plus a monitor with multiple inputs so you can swap devices by changing only the video input. OS caveat: confirm your Mac model's external display support before investing in dual-monitor docks.
- Reboot-free recovery: unplug/replug should restore monitor + USB + network.
- Stress test: run your typical workload for at least one session and watch for drops.
- Keep one known-good spare USB‑C video-capable cable for diagnostics.
Common compatibility concerns and quick fixes
My USB‑C hub powers the laptop but the monitor stays black-why?
Many USB‑C ports and cables support charging/data but not video. Confirm your device supports USB‑C video out (Alt Mode/Thunderbolt/USB4) and swap to a known video-capable USB‑C cable or use HDMI/DisplayPort output on the hub.
How do I choose between a USB‑C hub and a Docking station USB‑C?
A hub is best for light peripherals and travel; a powered docking station is better for stable desk use with monitor, Ethernet, and multiple USB devices. If you want one-cable daily docking, favor a powered dock.
Is a wireless charging stand safe to leave on all day?
Generally yes when used on a ventilated hard surface with a compatible adapter, but avoid heat buildup and keep the pad unobstructed. If the phone gets unusually warm, reposition it and verify the power adapter is appropriate.
My iPad connects to the monitor but only mirrors-can I extend the desktop?
Extended display behavior depends on iPad model, iPadOS version, and app support. Update iPadOS, test with a second app, and confirm your hub/monitor connection is stable before assuming the hardware is the limit.
Why do my USB devices disconnect when I plug in an external drive?
This is often a power or bandwidth issue on a small bus-powered hub. Use a powered dock/hub, connect high-draw devices directly, or reduce concurrent high-speed peripherals.
Do I need special accessories for a MacBook (อุปกรณ์เสริม MacBook) to run two monitors?
It depends on your specific Mac model and whether the dock uses native video output or special display technology. Check your model's external display support first, then choose a dock that matches that capability.
What's the quickest way to validate a new จอเสริมสำหรับโน้ตบุ๊ก setup?
Set the target resolution/refresh rate, run sleep/wake once, then test your real workflow for one session with the hub/dock connected. If anything drops, change one variable at a time (cable, port, adapter).