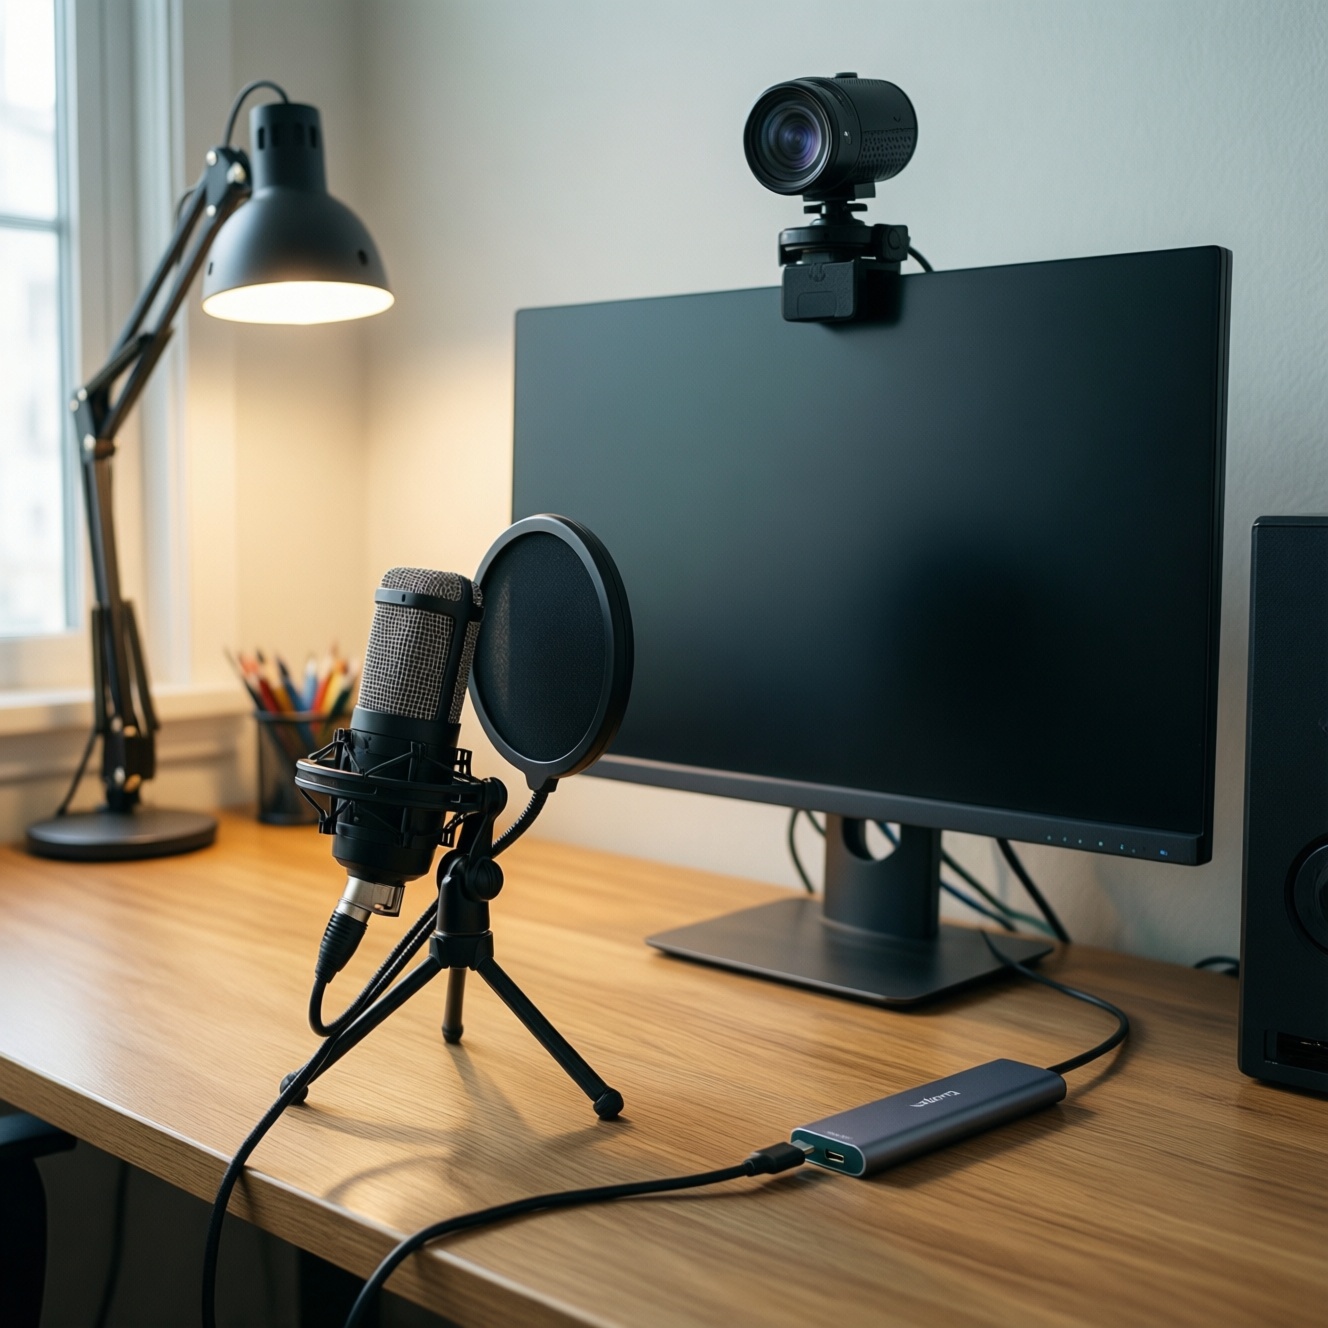
For a reliable online-meeting setup at home, prioritize a clear microphone, a stable webcam, simple lighting, and a compatible USB-C hub. Start with audio (biggest impact), then video framing, then light direction, and finally ports/power. This guide helps you choose, set up, and verify a complete ชุดอุปกรณ์ประชุมออนไลน์ safely and quickly.
Meeting-Ready Essentials at a Glance
- Audio first: pick a mic type that matches your room noise and speaking distance (ไมค์ประชุมออนไลน์ matters more than camera specs).
- Webcam: prioritize reliable autofocus, correct field of view, and consistent exposure for เว็บแคมสำหรับประชุมออนไลน์.
- Lighting: one soft key light at 30-45° is usually enough; avoid strong backlight (ไฟไลฟ์สดสำหรับทำงานที่บ้าน can double as a meeting light).
- USB-C hub/dock: ensure power delivery and display support match your laptop (USB-C hub สำหรับโน้ตบุ๊ก).
- Positioning: camera at eye level, mic off-axis, and reduce reflections to cut echo.
- Verification: run a 30-second test call to confirm gain, framing, and sync before real meetings.
Choosing the Right Microphone for Clarity and Comfort
Who this fits: remote students and knowledge workers who speak for long periods and want consistent voice quality with less fatigue. A dedicated mic also helps when your laptop is on a stand or you use an external keyboard.
When not to do it: if you frequently move around, share one desk with others talking, or need a fully portable setup, a lightweight headset may be more practical than a desk mic.
Practical mic picks (one-line guidance)
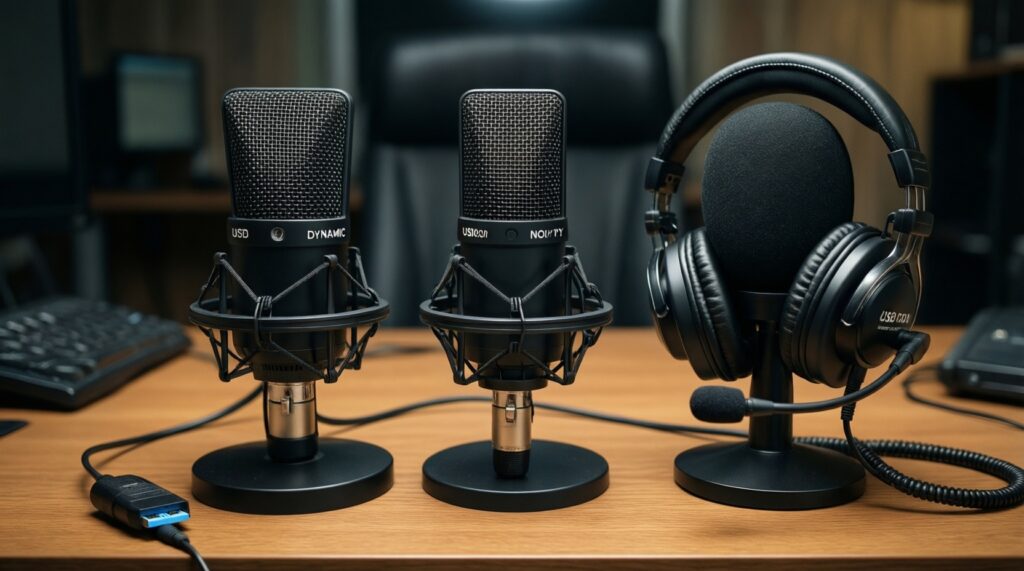
- USB dynamic mic: best when your room is noisy; speak close (5-15 cm) for strong isolation.
- USB condenser mic: best in a quiet room; keep distance consistent and lower gain to avoid room echo.
- Wired headset mic: most consistent distance and least setup; great for long calls and variable environments.
Quick comparison table (what to buy for your scenario)
| Category | Best for | What to prioritize | Common mistake to avoid |
|---|---|---|---|
| Microphone (USB dynamic) | Noisy home, fans/AC, shared space | Close-talk performance, mute button, stable stand/boom | Placing it far away and turning gain up (adds echo) |
| Microphone (USB condenser) | Quiet room, best "studio-like" detail | Low self-noise, pop filter, gain control | Facing it toward reflective walls (echo/"boxy" sound) |
| Webcam | Frequent video meetings, screen sharing + talking head | Reliable autofocus, sensible field of view, good exposure | Using ultra-wide view that shows clutter and reduces face detail |
| Lighting (soft key light/ring light) | Better face visibility, consistent skin tones | Diffusion, flicker-free look, easy angle adjustment | Light behind you (silhouette) or too high (dark eye sockets) |
| USB-C hub / dock | One-cable desk, external monitor, wired network | Power Delivery pass-through, HDMI/DP mode, enough USB ports | Assuming all USB-C ports support display (some are data-only) |
Webcam Selection: Resolution, Autofocus, and Field of View
You'll need: (1) admin access to install the webcam utility/driver if required, (2) a stable mounting position (monitor top or small tripod), (3) a video-call app with device selection (Zoom/Teams/Meet), and (4) a clean USB port or hub port with enough bandwidth and power.
What to check before you buy or connect

- Autofocus behavior: it should lock quickly on your face and not "hunt" during normal movement.
- Field of view (FOV): choose a view that frames head-and-shoulders without showing the whole room.
- Exposure control: webcam should not blow out a bright window or dim your face.
- Mounting: a secure clip matters if you adjust your monitor angle.
Practical Lighting Setups for Professional Video
-
Control the strongest light source first
Close curtains or turn your desk so a window is in front of you, not behind. The goal is to avoid backlight that forces the camera to darken your face.
-
Place one key light at 30-45° from your face
Position the light slightly above eye level and off to one side so it creates gentle shadowing for depth. Keep it close enough to be soft, but not so close it causes glare on glasses.
- If you wear glasses, raise the light a bit and angle it down to reduce reflections.
- If you must use a ring light, place it slightly above the webcam, not directly behind it.
-
Diffuse and soften
Use the light's diffuser (or bounce it off a white wall) to reduce harsh shadows and shiny skin highlights. Softer light also makes webcams look better at lower exposure.
-
Balance color temperature
Don't mix very warm room bulbs with a cool white key light. Pick one "look" and match other lights to it, or turn off conflicting lamps.
-
Lock your framing and do a 10-second camera check
Open your meeting app preview, sit in your normal posture, and verify eyes are well-lit and your background isn't brighter than your face.
Быстрый режим
- Face the window (or close it if it's behind you).
- Put one soft light 30-45° to the side, slightly above eye level.
- Set webcam at eye level and frame head-and-shoulders.
- Place mic close, speak across it (off-axis), then lower gain.
- Run a 30-second test call and adjust only one thing at a time.
USB-C Hubs and Docking: Power, Ports, and Compatibility
Use this checklist to confirm your hub/dock is actually doing what you expect (charging, display, stable peripherals) without random disconnects.
- Confirm your laptop's USB-C port supports what you need (charging and/or video). If unsure, check the laptop manual/spec page for USB-C capabilities.
- Use a known-good USB-C cable rated for charging and data; avoid "charge-only" cables.
- Connect power to the hub/dock first (if it supports Power Delivery), then connect the hub to the laptop.
- Verify charging status on the laptop (charging icon) and that it doesn't rapidly toggle on/off.
- Attach the monitor and confirm correct resolution and refresh options appear in OS display settings.
- Plug webcam and mic into separate USB ports if possible; avoid chaining through multiple adapters.
- If you use wired internet, confirm the Ethernet adapter shows a stable link and doesn't drop under video calls.
- Check for heat: hubs can get warm; ensure airflow and don't cover them with fabric.
- Test a full meeting scenario: webcam + mic + screen share + charging for at least a few minutes.
Room Layout, Positioning and Acoustic Treatments
- Mic too far away: you compensate with gain, which amplifies echo and keyboard noise.
- Webcam below eye level: creates an unflattering angle and makes eye contact harder.
- Bright window behind you: forces exposure down, making you look dark.
- Single overhead ceiling light: causes dark eye sockets and uneven skin tone.
- Hard reflective room (bare walls/tile): increases reverb; add soft items (curtains, rug, bookshelf) near the speaking area.
- Speaker volume too high: causes feedback or echo in calls; use headphones when possible.
- Camera ultra-wide framing: shows clutter and reduces perceived sharpness on your face.
- Mixing mismatched lights: produces odd color casts that webcams struggle to correct.
Routine Maintenance, Connectivity Checks and Troubleshooting
Alternatives are useful when your default setup can't be stable or convenient.
- Wired headset as a fallback: use it when a USB mic picks up too much room noise or you need maximum reliability during exams/interviews.
- Phone as webcam: use it when your laptop camera is poor and you need better image quality quickly; keep the phone on a stable mount and on the same network/app workflow.
- Single-device "minimal kit" mode: use only laptop + headset when traveling or when hubs/adapters cause instability.
- Docking station upgrade: choose a dock when you regularly run monitor + Ethernet + multiple USB devices and a small hub overheats or disconnects.
Fast troubleshooting (safe steps)
- Isolate the problem: unplug everything from the hub; test mic/cam directly on the laptop first.
- Switch ports/cables: try another USB port and another cable before changing settings.
- Fix audio gain: lower mic gain and move the mic closer; don't "boost" in software to compensate for distance.
- Stop echo: use headphones, reduce speaker volume, and disable "stereo mix"/extra audio devices you don't use.
- Stabilize video: add light to your face; webcams look worse when the room is dark.
Typical Buyer and Setup Concerns Answered
Should I buy a mic before a webcam?

Yes if people often ask you to repeat yourself. A better ไมค์ประชุมออนไลน์ usually improves meeting quality more than upgrading from an average webcam.
Is a ring light always the best option?
No. A soft key light placed slightly to the side often looks more natural; a ring light is convenient but can reflect in glasses and flatten facial features.
Do I need special software for a webcam?
Usually not, but vendor utilities can help control autofocus/exposure and presets. For เว็บแคมสำหรับประชุมออนไลน์, prioritize stable performance in your call app over extra effects.
How do I know if my laptop USB-C supports an external monitor?
Not all USB-C ports output video. Check your laptop's specs/manual for DisplayPort Alt Mode/Thunderbolt/USB4, or test with a known-working monitor adapter before buying a new hub.
My hub disconnects during calls-what's the fastest fix?
Power the hub (if it supports Power Delivery), use a better cable, and move high-draw devices (webcam, storage) to separate ports. If it still drops, connect the webcam directly to the laptop.
What's a sensible starter kit for home study/work?
A basic ชุดอุปกรณ์ประชุมออนไลน์ is: reliable headset or USB mic, a webcam with dependable autofocus, one soft light (ไฟไลฟ์สดสำหรับทำงานที่บ้าน works), and a verified USB-C hub สำหรับโน้ตบุ๊ก if you need more ports.