If your goal is reliable, fast content capture with minimal grading, pick iPhone for consistent video and editing speed; pick Pixel for natural-looking photos and strong low-light processing; pick Galaxy for flexibility (lenses, manual controls) and a more customizable look. The best choice depends on your color preference, workflow, and budget-first gear plan.
At-a-Glance Practical Summary
- Choose iPhone when video is your main deliverable and you want the smoothest end-to-end edit/export workflow.
- Choose Pixel when you prioritize photos, skin tones that feel natural, and quick share-ready results with less tweaking.
- Choose Galaxy when you want more capture control (manual modes), multi-lens versatility, and customization for your look.
- For "เปรียบเทียบกล้อง iPhone vs Pixel vs Galaxy" decisions, evaluate your worst-case scenario: indoor mixed light + moving subject.
- Budget-first: an older flagship often beats a new mid-range for stabilization, lenses, and overall consistency.
Sensor, Optics and Low-Light Tradeoffs
- Main camera consistency: How stable exposure and focus remain during movement and lighting changes.
- Lens coverage you actually use: Wide + ultra-wide + tele matters only if you shoot those focal lengths weekly.
- Low-light behavior: Look for controlled noise, minimal "smearing," and believable skin under warm LEDs.
- HDR handling: Balance between protected highlights and natural midtones (especially faces).
- Auto white balance stability: Fewer color shifts mid-clip means less fixing in post.
- Portrait/subject separation: Edge quality around hair and glasses; whether it holds up in video.
- Audio capture resilience: Wind handling, clipping control, and how easy it is to pair an external mic.
- Thermals and sustained recording: How quickly the phone dims, drops frames, or limits features in long takes.
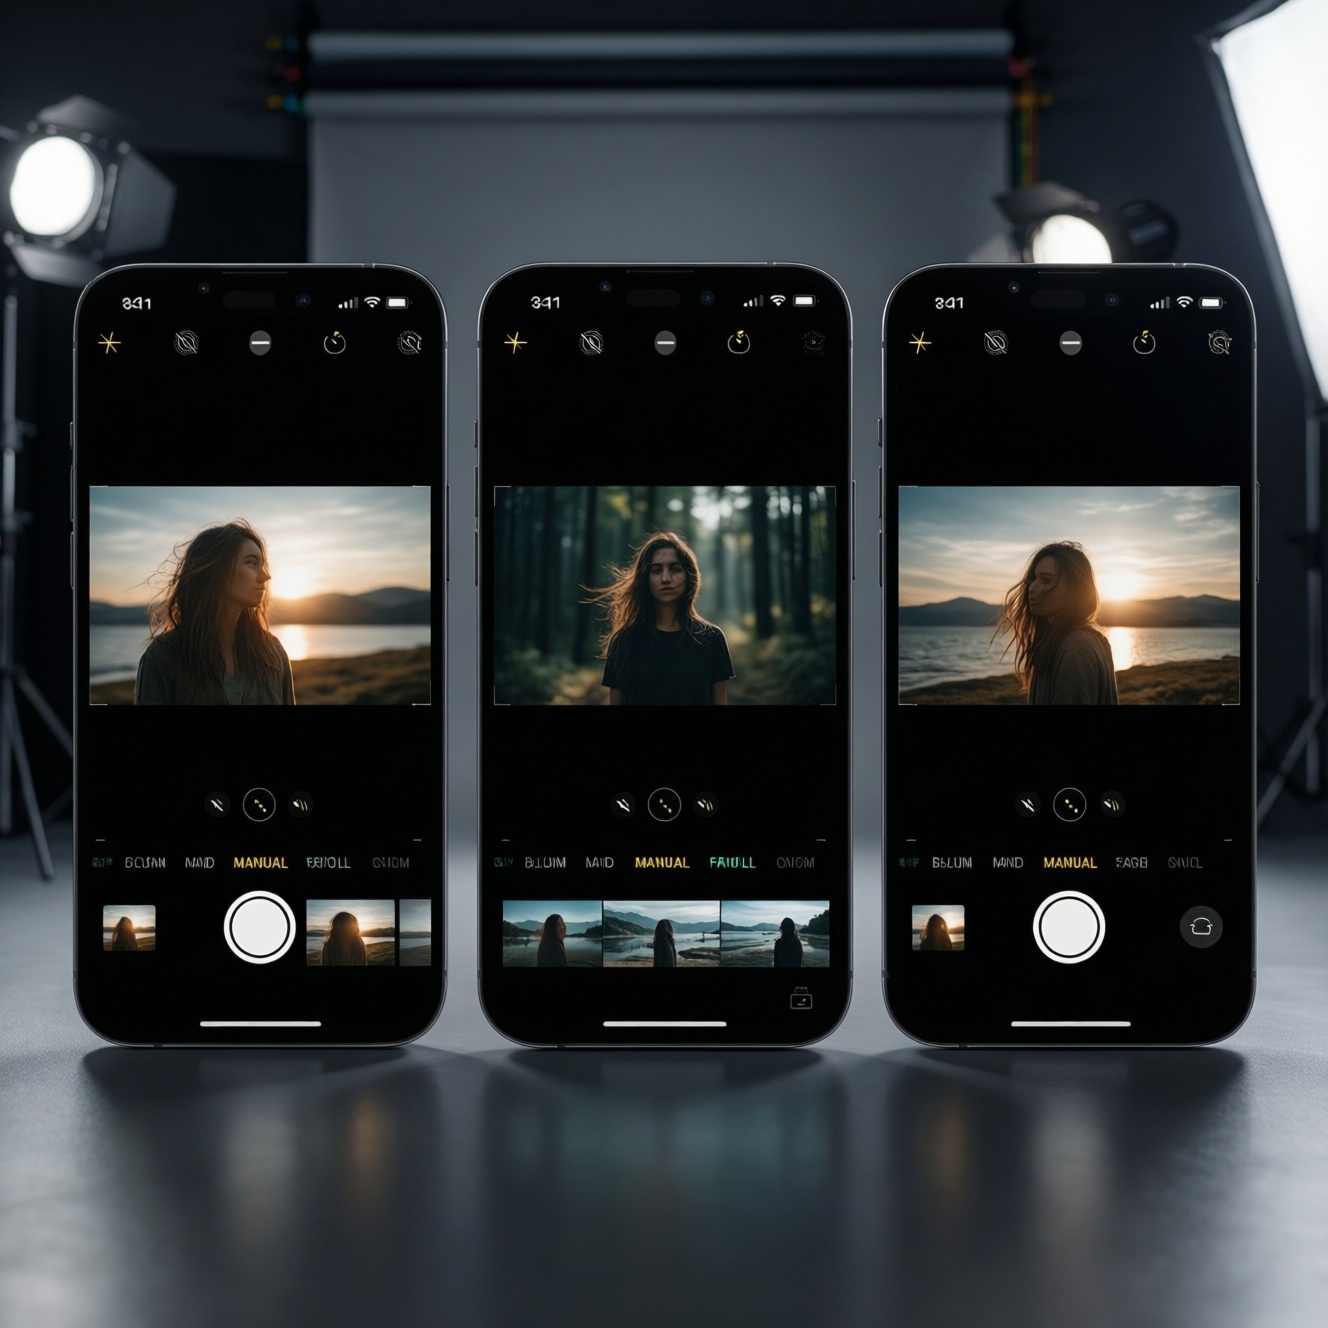
Color Science Compared: iPhone vs Pixel vs Galaxy
When people ask "ซื้อ iPhone หรือ Pixel หรือ Galaxy รุ่นไหนดี กล้องดีที่สุด" they're often asking about default color and how much work it takes to match clips across locations. Use the table below as a practical mapping from "what I like" to "what I should buy and set."
| Variant | Who it fits | Pros | Cons | When to choose |
|---|---|---|---|---|
| iPhone Pro line (recent) | Video-first creators, social teams, fast turnaround editors | Very consistent video exposure and focus; strong stabilization; predictable skin tones under mixed light | Look can feel "processed" if you push contrast/sharpening in edits; less freedom if you rely only on the default Camera app | When "รีวิวกล้อง iPhone Pixel Galaxy ถ่ายวิดีโอ 4K" is your core use-case and you need repeatable results across shoots |
| Pixel Pro line (recent) | Photo-first creators, travel/food shooters, minimal-edit workflow | Natural-looking photos; strong low-light computational results; good automatic HDR choices | Video look may vary more by lighting; color shifts can appear when panning between light sources | When you want share-ready photos and reliable indoor snapshots without building a heavy grading workflow |
| Galaxy S Ultra line (recent) | Creators who want flexibility, manual tweaks, and multi-lens coverage | Versatile lens options; strong manual controls; easy to tailor the look to your style | Default color can skew more vivid; matching between lenses may need extra attention in post | When you need more control on set (exposure/white balance discipline) and you're comfortable refining the look in editing |
| Older flagship iPhone (previous Pro generation) | Budget-first video creators who still want a stable pipeline | Great value for consistent video; broad accessory ecosystem; strong editing app support | Less headroom for aggressive grading than newer models; battery health matters a lot | When "ราคา iPhone Pixel Galaxy รุ่นกล้องเทพล่าสุด" is too high but you still want dependable video output |
| Pixel "a" series (current or recent) | Budget-first photo creators, casual vloggers | Excellent everyday photos for the money; simple capture experience; good night processing for stills | Fewer pro video tools; stabilization and detail can drop faster in difficult light | When your content is mostly photos + short clips and you want the lowest-cost path to pleasing color |
| Galaxy FE / upper mid-range | Budget-first creators who want Samsung's ecosystem and manual-like options | Good feature set; flexible shooting modes; often strong display for on-device review | More variance between lenses; low-light video can look softer; requires more careful setup | When you want Samsung tools on a tighter budget and you accept a bit more setup and testing |
Video Capture: Formats, Stabilization and Framerates
- If you shoot talking-head indoors under mixed LEDs, then lock white balance (or keep lighting consistent) and prioritize the phone that changes color the least during a take; budget option: older iPhone Pro; premium: recent iPhone Pro.
- If you shoot handheld walk-and-talk outdoors, then prioritize stabilization consistency over sharpness; test ultra-wide vs main lens and pick the one with fewer micro-jitters; budget: older flagship iPhone/Galaxy FE; premium: iPhone Pro or Galaxy S Ultra.
- If you shoot concerts/night markets, then keep expectations realistic: reduce fast pans, expose for faces, and avoid extreme digital zoom; budget: Pixel a-series for photos + short clips; premium: Pixel Pro for low-light stills or iPhone Pro for steadier video.
- If you deliver "clean" 4K social video, then pick a consistent 4K mode across all cameras you plan to use and avoid mixing lenses mid-scene unless you can color-match later; this is where "รีวิวกล้อง iPhone Pixel Galaxy ถ่ายวิดีโอ 4K" comparisons usually show workflow differences more than resolution.
- If you do product/food close-ups, then prioritize minimum focus distance and lighting; add a small light first before chasing a new phone; budget: any recent mid-range plus a light; premium: flagship with the most reliable close focus on your preferred lens.
On-Set Capture Workflow: LUTs, RAW and Metadata
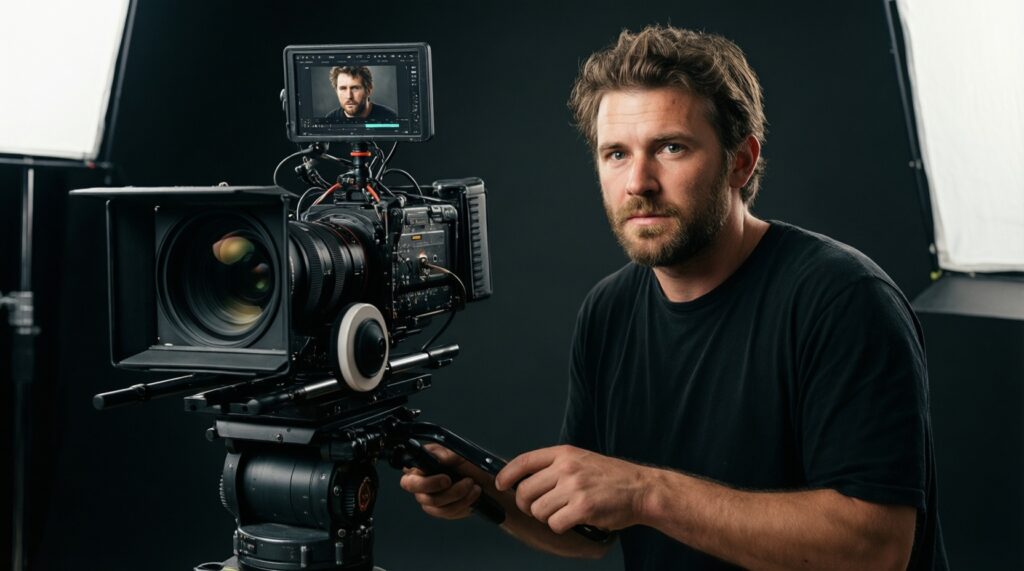
- Decide your finish: fast publish (minimal grading) or cinematic grade (consistent lighting + heavier post).
- Pick one "hero" lens for the scene (usually the main camera) and avoid switching lenses unless the shot requires it.
- Lock what you can: exposure and white balance for controlled scenes; leave auto only for run-and-gun where missing the moment is worse.
- If you plan to grade, capture in the flattest/most flexible option available in your app and keep the same profile across all takes (don't mix looks).
- Record clean reference audio (even if you use a separate mic) and clap once for sync; name clips consistently by scene/location.
- Review one short test clip on location: skin tone, highlight clipping, and whether stabilization looks natural.
Mobile Editing Pipeline: Apps, Export Settings and Speed
For "แอปตัดต่อวิดีโอบนมือถือ iPhone vs Pixel vs Galaxy" decisions, the phone matters less than consistency: same frame rate, same color handling, and predictable exports. Avoid these common selection and workflow mistakes:
- Buying based on sharpness screenshots, then discovering your real problem was unstable white balance in mixed light.
- Mixing clips from different lenses and expecting perfect matching without time spent on color correction.
- Shooting variable frame rate clips and then fighting audio sync or jittery timelines during editing.
- Overusing AI enhancement/sharpening tools that create halos on hair, text, and product edges.
- Grading on an over-saturated display mode, then exporting videos that look too warm/cool on other devices.
- Editing long-form 4K projects without a storage plan (free space, fast transfer, and backups), causing slowdowns and failed exports.
- Chasing "cinematic" by adding LUTs first, instead of fixing lighting and exposure consistency at capture.
- Ignoring audio: weak voice clarity will make even the best camera look "cheap."
Budget Strategies: Achieving Cinematic Results on a Shoestring
Best for video-heavy creators on a budget is often an older iPhone Pro paired with a small light and a reliable mic; best for photo-led creators is typically a Pixel (including the "a" line) plus lighting; best for control-focused creators is a Galaxy (FE or Ultra depending on budget) with disciplined manual-style settings. Use "ราคา iPhone Pixel Galaxy รุ่นกล้องเทพล่าสุด" as a ceiling, then spend remaining budget on light, audio, and storage.
Answers to Common Practical Concerns
Which is the safest pick if I want the least post-processing?
iPhone is usually the safest for consistent video color and exposure with minimal tweaking. Pixel is very strong for minimal-edit photos.
Which phone is easiest for a one-person 4K content workflow?
iPhone tends to be the most frictionless for capture-to-edit-to-export on-device. Keep one lens and one frame rate for the whole project.
Do I need RAW/LOG to get a cinematic look?
No-lighting, controlled exposure, and stable white balance matter more. Use RAW/LOG only if you will actually grade and can keep settings consistent.
Why do my clips change color mid-video?
Auto white balance and HDR are reacting to mixed lighting and movement. Lock white balance/exposure when the scene is controlled or simplify the lighting.
Is it better to buy the latest flagship or an older flagship?
If budget-first, an older flagship often gives better stabilization and lens quality than a new mid-range. Prioritize battery health and storage condition.
What's the best upgrade after buying the phone?
Audio and lighting: a small key light and a reliable mic usually improve perceived quality more than switching phones. Then add storage/backup tools for smoother editing.