To build a budget smart home in Thailand that works well on both iPhone and Android, start with a secure Wi‑Fi foundation, then buy devices that support your chosen platform (HomeKit/Google Home) and ideally Matter. Set up accounts, update firmware, and use simple automations first. Plan migration early to avoid lock‑in and lost automations.
Starter priorities for a budget smart home
- Pick one primary controller app per home (Apple Home or Google Home) before buying devices.
- Upgrade Wi‑Fi reliability and security first; unstable networking breaks automations more than cheap devices do.
- Prefer Matter-capable devices when price is close; it reduces future migration pain.
- Start with high-impact items: lights/switches, a few sensors, then plugs-avoid niche gadgets early.
- Standardize accounts, naming, and room structure so your setup scales and is easy to troubleshoot.
Choosing devices: balance cost, compatibility, and longevity
If your goal is สมาร์ตโฮม ราคาประหยัด that still feels reliable, prioritize devices that work locally (or at least keep basic functions without cloud), get regular firmware updates, and integrate cleanly with your phone platform. This approach suits renters and homeowners who want practical automation without rebuilding everything later.
When you should NOT do this approach: If you need guaranteed offline operation for critical safety systems (locks, alarms) or you want professional-grade centralized control from day one, a purely "budget-first" path can create long-term maintenance overhead.
- Good early buys (usually best ROI): smart bulbs or smart switches, motion/contact sensors, smart plugs, one hub/speaker.
- Delay until later: cameras, robot vacuums, advanced energy monitoring, smart locks (migration and security stakes are higher).
- Platform note: For อุปกรณ์สมาร์ตโฮม iPhone check Home app compatibility (HomeKit/Matter). For อุปกรณ์สมาร์ตโฮม Android check Google Home support and whether features require vendor apps.
- Starter bundle thinking: Build your own ชุดเริ่มต้นสมาร์ตโฮม around one hub/speaker plus 3-6 devices of the same "type" (e.g., several bulbs), instead of one of everything.
Networking essentials: Wi‑Fi, VLANs, and secure guest access
Before pairing anything, ensure your network can handle many always-on devices and isolate risky IoT traffic. You'll need admin access to your router (or a new router if your ISP device is too limited).
- Access & tools: router admin login, ability to create a guest network, WPA2/WPA3 settings, phone hotspot for fallback, and a password manager.
- Wi‑Fi basics for IoT: keep a 2.4 GHz network available (many sensors/plugs need it), use a stable SSID and password you won't change often, and avoid band-steering quirks if devices fail to pair.
- Segmentation (recommended): put IoT devices on a guest SSID or VLAN; allow only what's required for control (LAN discovery may need exceptions depending on your setup).
- Secure guest access: create a separate "Guest" Wi‑Fi for visitors; never share your main SSID used by controllers and hubs.
- Hardening checklist: disable WPS, update router firmware, use unique strong Wi‑Fi password, and turn on automatic updates where possible.
iPhone vs Android: platform-specific setup, limitations and tips
- Migration can delete automations: moving devices between ecosystems often requires factory resets; scenes/routines may not transfer.
- Cloud dependency risk: some budget brands stop working well if their cloud is down; prefer local/Matter where possible.
- Network isolation can break discovery: VLAN/guest networks may block mDNS or local broadcasts; plan exceptions for controllers/hubs.
- Account takeover is common: reused passwords and no 2FA are the fastest path to compromised cameras and locks.
-
Decide your "home brain" (Apple Home or Google Home) and stick to it first
If your household has mixed phones, choose the platform that will host automations and naming. The phrase เปรียบเทียบ Apple HomeKit กับ Google Home matters here: Apple Home tends to be stricter on compatible devices, while Google Home often supports more brands but may rely more on vendor clouds.
- iPhone-first: prioritize HomeKit or Matter devices so they appear directly in the Home app.
- Android-first: prioritize "Works with Google Home" and confirm which features are available without the vendor app.
-
Prepare accounts, security, and updates before pairing
Create/clean up your Apple ID/Google account security (2FA), then update phone OS and the vendor app. For budget devices, firmware updates often fix pairing drops and Wi‑Fi bugs.
- Use unique passwords and store them in a password manager.
- Enable 2FA for Apple/Google and for any vendor account that supports it.
-
Build a dedicated IoT Wi‑Fi (or guest SSID) and name it clearly
Keep IoT devices on 2.4 GHz where needed, and document the SSID/password. If you use VLANs, ensure your controller device can still discover hubs (mDNS/Bonjour may require specific router features).
- Example naming: HOME-IOT (2.4 GHz), HOME-MAIN, HOME-GUEST.
- Turn off WPS to reduce exposure.
-
Pair one device type at a time and standardize naming
Add 1-2 devices, confirm stability, then scale. Use consistent names: Room + Type + Index (e.g., "Living Room Light 1"). This makes voice control and automations far more reliable than random names.
- iPhone tip: verify each accessory appears in the Apple Home app as expected, not only inside the vendor app.
- Android tip: after linking a vendor service, verify controls inside Google Home, then test voice commands.
-
Create two simple automations and stress-test them
Start with "sunset lights on" and "motion triggers light for 2 minutes." Run them for a few days before adding complexity; this surfaces Wi‑Fi dead zones and flaky devices early.
- Keep fallbacks: physical switches should still work even if the app fails.
- Document what controls what (notes app is enough).
Bridging ecosystems: hubs, Zigbee/Z‑Wave, and Matter readiness
- All critical devices can still be controlled if the internet drops (at least locally via hub/controller).
- Your hub/controller is on a stable power source; you have a plan for power cuts (UPS if needed).
- Matter devices are added using the ecosystem you intend to keep long-term (so you don't have to re-pair later).
- Zigbee/Z‑Wave devices are paired to one hub only (avoid duplicate networks that fight each other).
- Controller-to-hub discovery works across your Wi‑Fi/VLAN design (mDNS/Bonjour tested).
- Every device has the latest firmware, and automatic updates are enabled where safe.
- Vendor accounts are secured with 2FA (or at minimum unique passwords) and recovery options.
- You have a "device inventory" list: model, location, ecosystem, and reset method.
Automations, scenes and voice control: practical, reliable recipes
- Over-automation early: too many rules make troubleshooting impossible; add one automation, test, then add the next.
- Using the vendor app and ecosystem app inconsistently: you create duplicated scenes that drift; pick one place as the source of truth.
- Ignoring physical control: smart bulbs behind a wall switch that gets turned off will "disappear"; use smart switches or educate household habits.
- Unstable triggers: motion sensors aimed at windows/AC airflow cause false triggers; reposition before tweaking timers.
- Wi‑Fi saturation: too many cheap Wi‑Fi devices can overload entry-level routers; mix in Zigbee via a hub where possible.
- VLAN isolation too strict: blocking local discovery breaks voice control; whitelist required services rather than fully opening networks.
- Name collisions: "Light" in multiple rooms confuses voice assistants; use room-specific unique names.
- No reset plan: you forget how to factory reset a device; store reset steps and QR codes/Matter codes.
Switching providers or ecosystems: migration checklist and common pitfalls
When you change phones, hubs, or ecosystems, assume you may need to re-pair devices and rebuild routines. Do a controlled migration rather than "unlink everything at once."
- Move toward Matter-first where possible: best when you want the option to switch between iPhone and Android later with less lock‑in.
- Use a hub-based bridge (Zigbee/Z‑Wave): best when you want cheaper sensors and better battery life while keeping Wi‑Fi less crowded.
- Stay within one ecosystem and change device brands gradually: best when your current Apple Home/Google Home setup is stable and you only need to replace unreliable devices.
- Rebuild as a new home and retire legacy devices: best when your current setup is messy; warning: this often requires factory resets and you may lose historical data and automations permanently.
Quick answers to migration, security and compatibility concerns
Can I mix iPhone and Android in the same home without buying everything twice?
Yes-use one primary ecosystem for automations and share access with household members. Prefer Matter devices or a hub that exposes devices to both platforms where supported.
What is the safest way to start a สมาร์ตโฮม ราคาประหยัด without creating security holes?
Secure accounts with 2FA, disable WPS, and isolate IoT on a guest SSID/VLAN. Only then start adding devices in small batches and update firmware immediately.
Do อุปกรณ์สมาร์ตโฮม iPhone need HomeKit, or is Matter enough?
Matter is often enough for core controls in Apple Home, but not every feature is identical across brands. If you need guaranteed Apple Home features, confirm HomeKit support or verified Matter behavior before buying.
Will อุปกรณ์สมาร์ตโฮม Android always work better with Google Home?
Not always-some brands expose limited controls to Google Home and require their own app for advanced settings. Verify which functions (scenes, timers, sensors) appear inside Google Home before committing.
What is the minimum ชุดเริ่มต้นสมาร์ตโฮม you can build and still get real value?
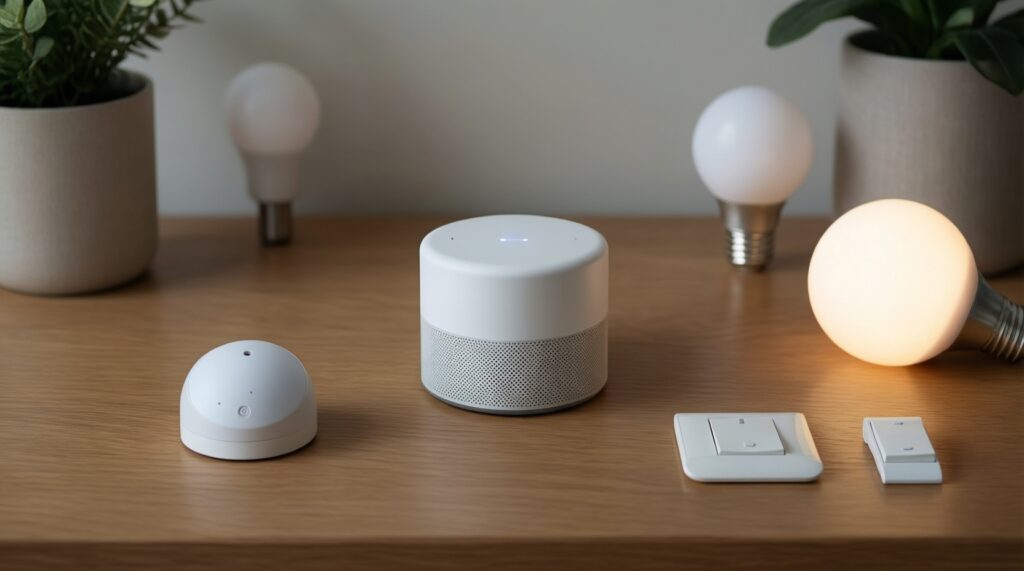
One controller (smart speaker or hub) plus a small set of lights/switches and one sensor is enough to create daily-use automations. Add plugs and more sensors only after your network proves stable.
How do I avoid pain when I want to เปรียบเทียบ Apple HomeKit กับ Google Home and maybe switch later?
Buy Matter-capable devices when possible and keep device naming consistent. Expect some re-pairing during migration; plan time for rebuilding automations and keep an inventory of reset methods.