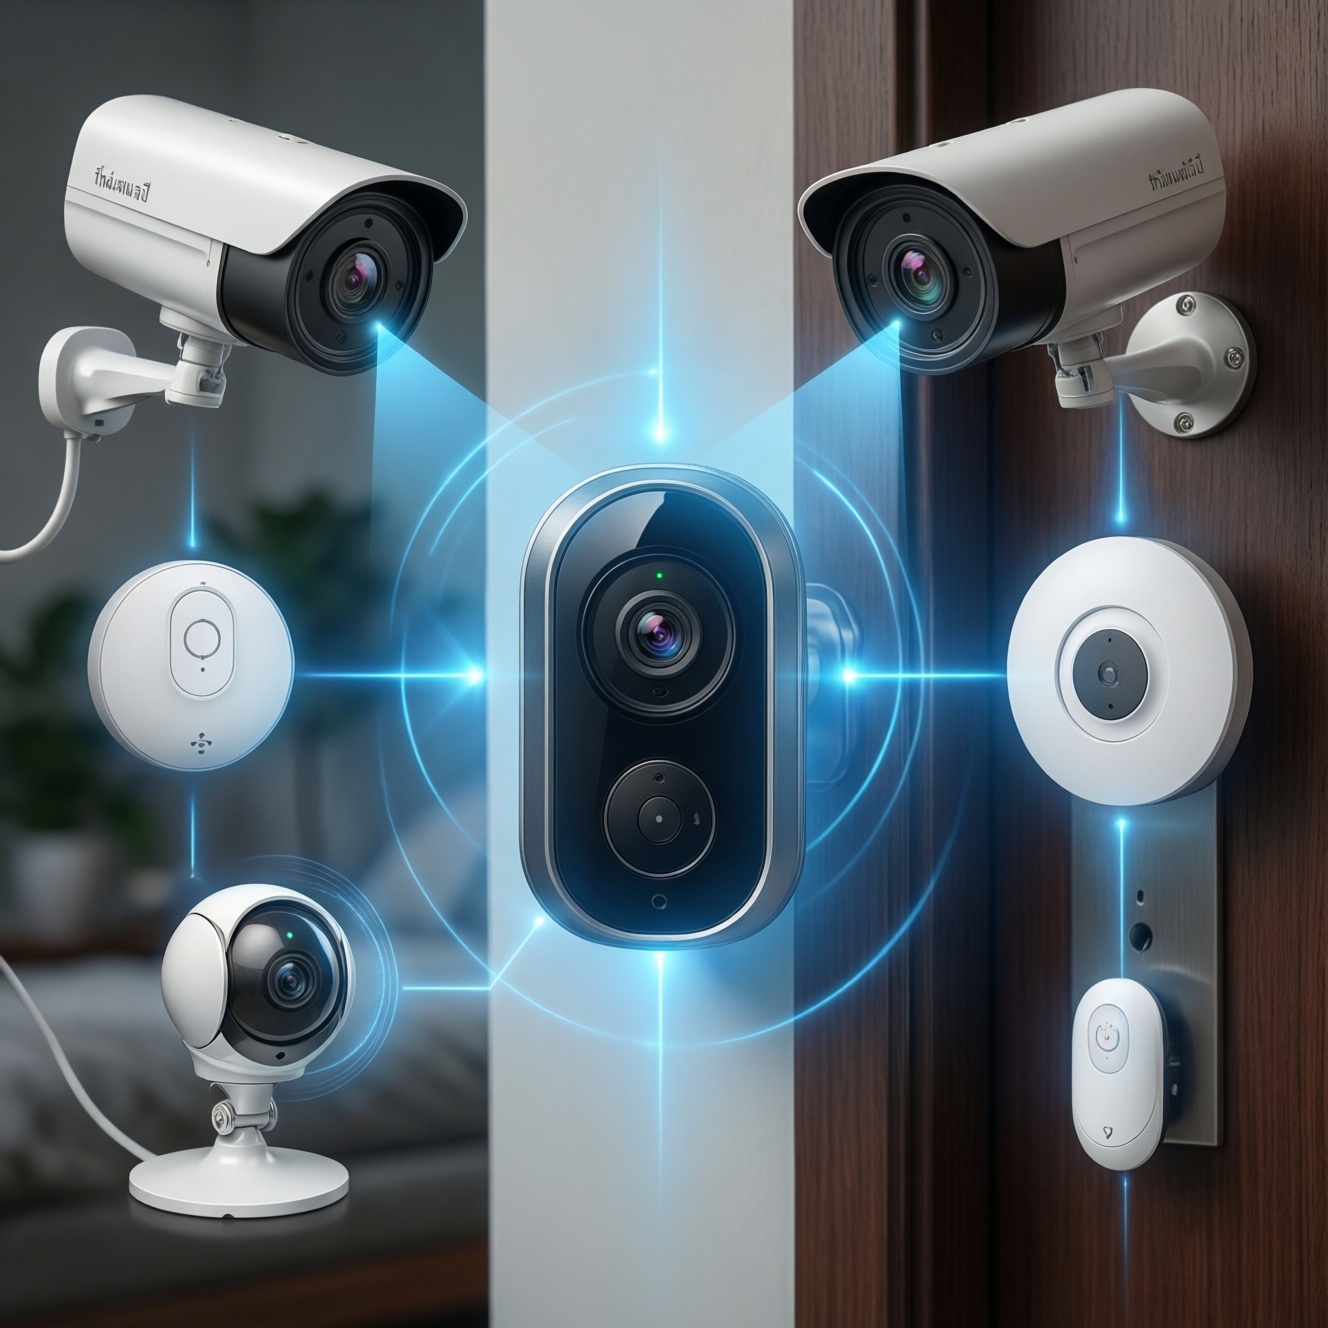
If you are building a home security system in Thailand with cameras, sensors, and a video doorbell, pick your primary ecosystem first and then buy devices that are natively certified for it. HomeKit prioritizes privacy-forward control, Google Home is strong for voice and Nest-style doorbells, and SmartThings excels with hub-based Zigbee/Z-Wave sensors and flexible automations.
Compatibility snapshot: choose by ecosystem and use case
- Best Apple-first experience: HomeKit with HomeKit Secure Video-capable cameras and Home app automations.
- Best Google-first experience: Google Home with Nest-compatible cameras/doorbells and Assistant routines.
- Best sensor coverage and DIY expansion: SmartThings with Zigbee/Z-Wave sensors and multi-brand rules.
- Least friction: stay inside one ecosystem for doorbell + cameras; bridge sensors only if needed.
- Most resilient: local-capable cameras/recording plus hub-based automations that do not rely on cloud uptime.
Map your smart-home ecosystem: HomeKit vs Google Home vs SmartThings
- Your phones and household devices: iPhone/iPad and Apple TV/HomePod push you toward HomeKit; Android/Chromecast toward Google Home.
- Privacy expectations: if you want fewer third-party accounts and tighter permissions, HomeKit typically fits better; if you accept vendor apps for features, Google/SmartThings can be fine.
- Local vs cloud dependency: prioritize local control/recording if your Wi‑Fi or ISP reliability varies; otherwise cloud-first ecosystems can be simpler to manage.
- Sensor strategy: if you want many contact sensors and motion sensors cheaply and reliably, SmartThings with Zigbee/Z-Wave is usually the easiest to scale (people often search "เซนเซอร์ประตูหน้าต่าง SmartThings ราคา" for exactly this reason).
- Doorbell constraints: existing chime wiring, gate distance, and condo rules often decide whether you can do wired or must go battery.
- Notification quality: choose the platform that delivers dependable push alerts on the phones your family actually uses.
- Automation complexity: simple routines work anywhere; advanced conditions and multi-sensor logic are usually easier in SmartThings.
- Long-term availability in Thailand: pick brands with local support/warranty channels and stable app updates.
Cameras: protocols, encryption, and which models play nice with each hub
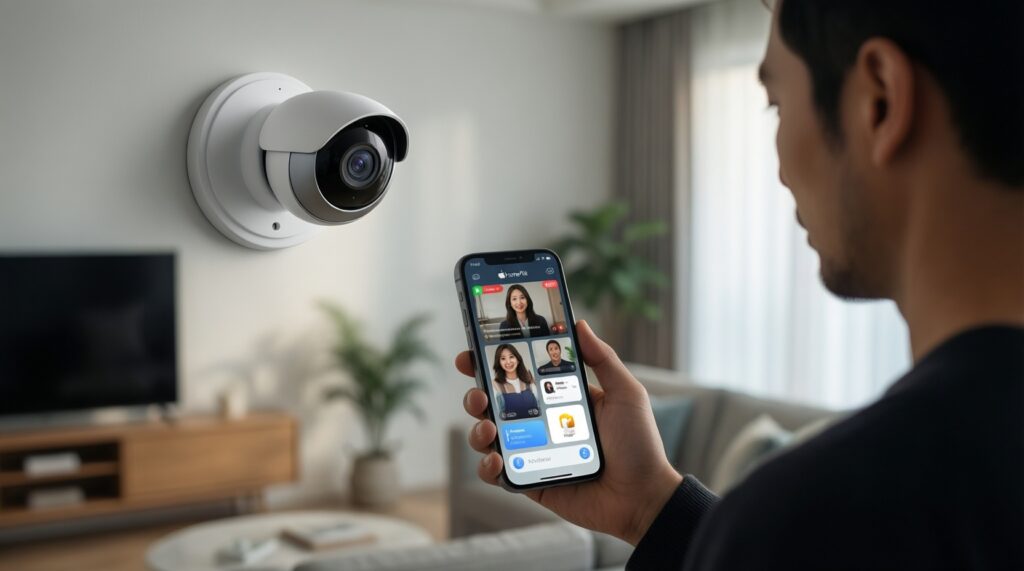
Start by deciding whether you need purely app-based cameras (simplest) or standards-based cameras you can reuse across platforms later (more work, more flexibility). If your goal is "กล้องวงจรปิด รองรับ HomeKit", prioritize cameras that explicitly support HomeKit or HomeKit Secure Video rather than relying on unofficial bridges.
| Option | Who it's for | Pros | Cons | When to choose |
|---|---|---|---|---|
| HomeKit Secure Video camera (native HomeKit) | Apple-heavy homes that want simple, privacy-forward control | Unified Home app control; tighter permission model; straightforward family sharing | Smaller device selection; advanced features sometimes vary by vendor app | When you want the least friction with iPhone notifications and Home automations |
| Google/Nest-compatible camera (Google Home) | Google Assistant users who want smooth voice + app experience | Strong Google Home integration; good event-based notifications; easy sharing | Often cloud-account dependent; feature set can depend on vendor subscription tiers | When you want a camera experience that just works inside Google Home |
| SmartThings-friendly camera via official cloud integration | SmartThings users who mainly need camera events to trigger automations | Can use camera motion/person events to drive SmartThings routines | Video viewing may still happen in the camera vendor app; cloud link adds a failure point | When cameras are part of automation logic, not your primary viewing interface |
| ONVIF/RTSP camera + local NVR (standards-based) | Intermediate users who want long-term portability and local recording | Vendor-neutral; easier to migrate later; local storage options | More setup; integrations with HomeKit/Google/SmartThings may require extra middleware | When you want a platform-agnostic backbone and do not mind tinkering |
| Battery Wi‑Fi camera (wire-free placement) | Renters, condos, and spots without power outlets | Easy placement; fast installs; works for temporary monitoring | Battery management; higher risk of missed events if Wi‑Fi is weak | When placement matters more than continuous recording and you accept maintenance |
| Multi-ecosystem camera (vendor app + multiple assistants) | Homes mixing platforms or planning future migration | More flexible; can serve both Apple and Google homes if explicitly supported | Usually still relies on vendor cloud/app; feature parity differs per platform | When your requirement matches "กล้องวงจรปิดไร้สาย ใช้งานกับ Google Home และ SmartThings" and you want one camera family across rooms |
- Recommended pick for HomeKit: a camera explicitly certified for HomeKit Secure Video from the Apple Home compatibility list (do not assume "works with iPhone" means HomeKit).
- Recommended pick for Google Home: a Nest-compatible camera line sold in Thailand through official channels for stable firmware/app support.
- Recommended pick for SmartThings: a camera brand that offers an official SmartThings integration for event triggers, plus a separate vendor app you are comfortable using for live view.
- Confirm the camera's native platform badge (HomeKit / Google Home / SmartThings integration) in the manufacturer listing.
- Decide where video lives: cloud-only, local storage, or NVR.
- Plan Wi‑Fi: place an access point close to camera locations; treat outdoor walls/gates as high-loss zones.
- Validate alerting: test motion notifications on all family phones before mounting permanently.
Sensors (door/window, motion, glass-break): latency, battery life, and pairing
Sensors are where SmartThings often shines, but you can still build a clean setup in HomeKit or Google Home if you stick to the ecosystem's native accessories. Use these scenario rules to avoid buying sensors that cannot trigger the routines you actually want.
- If you need many contact sensors on a budget, then choose a SmartThings hub with Zigbee/Z-Wave contact sensors (this is the typical intent behind searches like "เซนเซอร์ประตูหน้าต่าง SmartThings ราคา").
- If you want door/window alerts to show inside Apple Home with minimal accounts, then choose HomeKit-native contact sensors and keep automations in the Home app.
- If you want Google Assistant announcements (speakers) when a door opens, then pick sensors that can trigger Google Home routines directly or via a supported bridge that exposes open/close states reliably.
- If you have a metal gate or thick concrete walls, then prefer a hub-based mesh (Zigbee/Z-Wave) over pure Wi‑Fi sensors, and place repeaters (smart plugs or dedicated repeaters) along the path.
- If you need alarm-style behavior (entry delay, siren, arming modes), then centralize logic in a hub (often SmartThings) and use cameras/doorbell as supporting devices, not the brain.
- Pair sensors close to the hub first, then move them to their final location.
- Name devices by location (Gate, Front door, Balcony) so notifications are actionable.
- Test "open → notify → light on" automations at the edge of your network coverage, not next to the router.
Video doorbells: two-way audio, chime routing and cloud vs local storage
If your main requirement is "กริ่งประตูอัจฉริยะ รองรับ Google Home", verify that the doorbell can both ring through Google Home speakers/displays and provide reliable visitor notifications on your phones in Thailand.
- Choose power first: wired (more consistent) vs battery (easier install at gates/condos).
- Confirm where the chime will ring: existing indoor chime, a vendor chime module, or smart speakers/displays.
- Validate two-way audio behavior: test on your home Wi‑Fi and on mobile data (gate/front wall locations are often weak).
- Pick storage model: cloud clips, local storage, or NVR-based on how long you want to keep events and how you feel about vendor accounts.
- Check notification workflow: lock-screen preview, quick reply, and whether multiple household members can receive rings without sharing one login.
- Plan night performance: ensure the mounting height/angle avoids glare from porch lights and reflective walls.
- Finalize ecosystem fit: if your system is a "ชุดระบบรักษาความปลอดภัยบ้านอัจฉริยะ กล้อง เซนเซอร์ กริ่งประตู", keep doorbell + primary cameras in the same ecosystem unless you have a clear reason to mix.
Cross-platform automation and routines: bridging devices and failover paths
- Assuming "works with" means full control: many integrations only expose basic events, not advanced features.
- Mixing camera video viewing across apps: you may end up with SmartThings for automations, a vendor app for live view, and another app for doorbell calls; decide if that is acceptable.
- Buying Wi‑Fi sensors to avoid a hub: you trade hub cost for higher maintenance and inconsistent latency when Wi‑Fi is congested.
- Over-optimizing for one feature (AI detection, face recognition): you can lose core reliability (rings/alerts) if the feature requires cloud processing and your connection fluctuates.
- Not planning for outages: if the internet drops, cloud automations and some notifications may fail; keep critical actions local when possible (lights/siren on hub rules).
- Ignoring household permissions: shared logins cause missed alerts and security risk; use proper family/household sharing where supported.
- Skipping naming and zones: unlabeled devices and untuned motion zones create alert fatigue, so real events get ignored.
- Assuming one camera family will satisfy every location: indoor privacy needs and outdoor weather/gate placement often require different device types.
Deployment, maintenance and privacy checklist for long-term reliability
- Start here: Is your household mostly iPhone/iPad? → prioritize HomeKit; mostly Android/Google speakers? → prioritize Google Home; many low-power sensors and complex rules? → prioritize SmartThings.
- Then pick your anchors: keep the doorbell + primary cameras native to the chosen ecosystem for the most reliable day-to-day rings and viewing.
- Then expand sensors: if you need lots of sensors, add a hub mesh (often SmartThings) and confirm that open/close states reliably reach your primary app.
- Before drilling holes: verify Wi‑Fi coverage at the gate/front door, test notifications on every family phone, and confirm recording/storage works as expected.
- After setup: enable 2FA on vendor accounts, remove installer access, and schedule periodic tests (ring doorbell, trigger sensor, confirm alert + recording).
Best fit for Apple-centric homes is usually a HomeKit-first stack focused on native accessories and consistent Home app alerts. Best fit for Google-centric homes is typically Google Home with a Google-compatible doorbell and cameras tuned for fast visitor notifications. Best fit for sensor-heavy, automation-driven setups is often SmartThings with hub-based sensors, while keeping cameras/doorbell in whichever ecosystem gives you the most reliable day-to-day viewing and rings.
Troubleshooting common integration roadblocks
My camera says it supports Apple devices, but it does not show in HomeKit. Why?
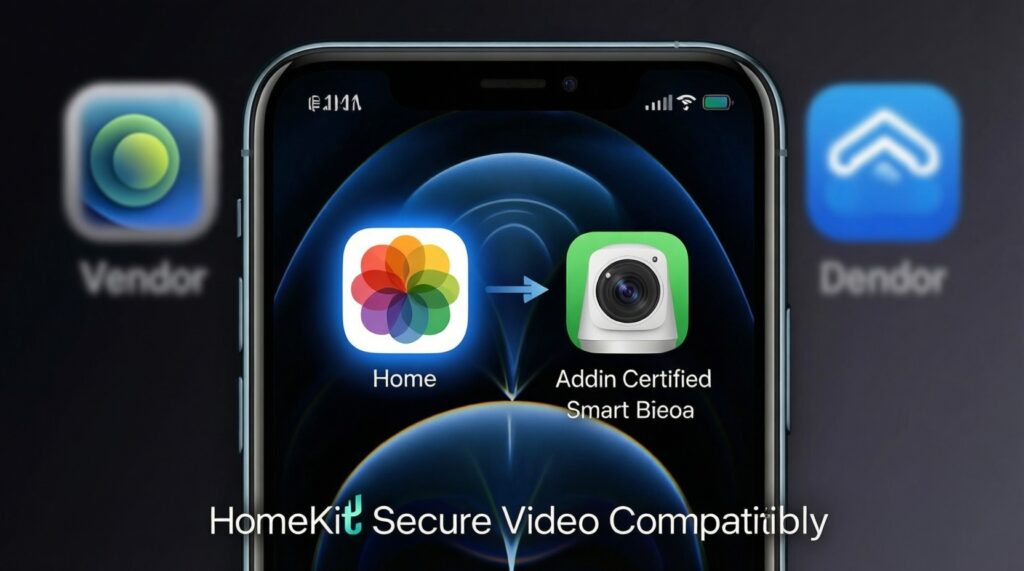
iOS app available is not the same as HomeKit. You need explicit HomeKit certification (or HomeKit Secure Video support) and must add it through the Home app, not only the vendor app.
Google Home can see my doorbell, but it does not ring my speakers or displays. Why?
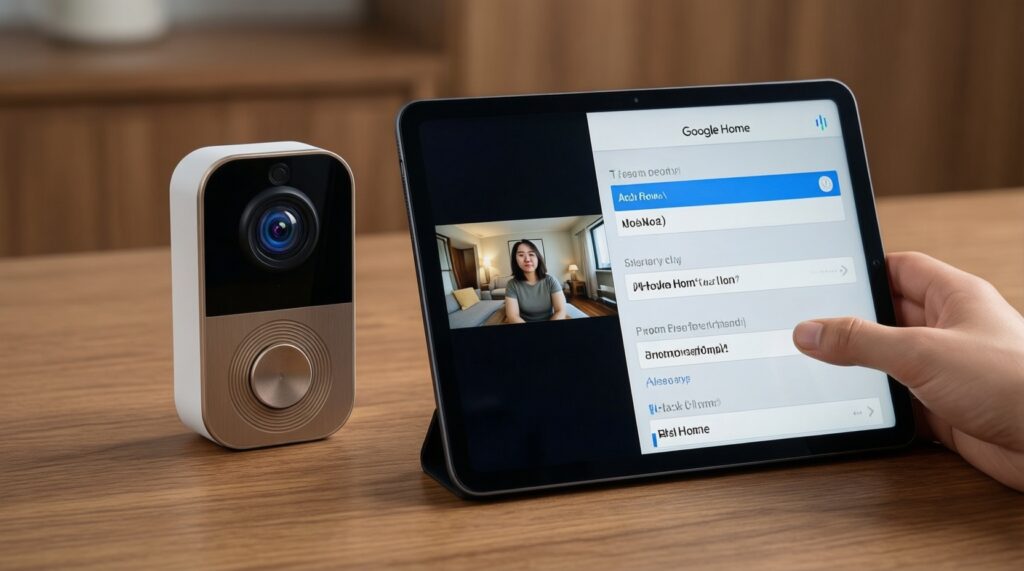
Some doorbells expose live view but not visitor announcement events. Check whether your specific doorbell model supports ringing on speakers/displays, and confirm the device is assigned to the correct home and room in Google Home.
SmartThings shows my camera, but I cannot view video inside SmartThings. What is happening?
Many SmartThings camera integrations focus on events and automation triggers while video stays in the vendor app. Treat SmartThings as the automation layer and use the camera app for live view and clip management.
My contact sensor triggers late or randomly disconnects. What should I fix first?
It is usually range/mesh quality or battery. Re-pair near the hub, add a Zigbee/Z-Wave repeater device along the route, and avoid placing sensors directly on large metal surfaces.
My doorbell two-way audio works on Wi‑Fi but fails on mobile data. What is the likely cause?
This often indicates upstream bandwidth or NAT/firewall issues at home, or weak doorbell signal at the gate. Improve Wi‑Fi coverage near the doorbell and test with a different phone network to isolate the cause.
Can I run one setup with cameras, sensors, and a doorbell across Google Home and SmartThings?
For "กล้องวงจรปิดไร้สาย ใช้งานกับ Google Home และ SmartThings", choose devices with explicit multi-platform support and accept that video may remain in the vendor app while events feed automations. Keep critical alerts in the platform you open most often.